![]()
![]()
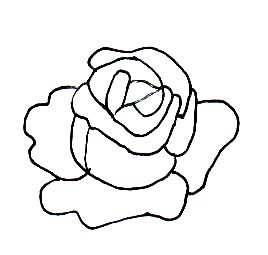
Use this basic rose shape to practice shaping with the PCA Shaders. It may be enlarged if you prefer when printing. (right click on pattern and save as - for IE users)
This is just one version of a simple rose you can try with the light and shade influence being the embossing, rather than with paint. Looks fine left uncoloured also if desired.
1.
Trace the basic rose shape in white ink and then on reverse of work sculpt the outer portions of petals with PCA Shader or MiniShader... depending on size of rose. Use more pressure on the outline as a starting point and drag the Shader towards the centre of the petal, gradually reducing the pressure you apply, tapering off to nothing. Turn your work as you go, having outline facing at the top of your work and repeat this "striking" action over and over until the outer portion of each petal is shaded. Note where light would strike and cause a highlight if the rose were in sunlight and make this your whitest part ( more pressure).
2.
Turn the Shader on it's side and on reverse, shape the "cup" of the rose petals with a similar action but sideways and always in the one direction, encouraging the shape of the rose body to round out a little. The centre portions of rose would be indented, so use a ball embosser to depict this on the front of the work.
3.
Turn work over and colour the entire rose with a light wash of pink felt tip pen, brought to the edge with a moistened paintbrush. White shading will remain white.
4.
Voila! Further encourage shaping by adding multistrokes of dry colour pencil in deep pink on the front (only on non white areas) and imagine where shadow might fall and add black pencil to deepen and recede those parts more.